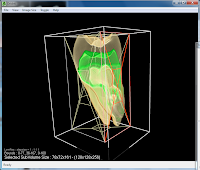
organized a tutorial at WASP/iVEC. The tool is developed by Ajay, a very friendly guy, and very open to user feature-requests.
 Drishti has three parts, the renderer, the importer, and the painter. We only covered the renderer and importer.
The importer can import from various file formats, including standard image stacks and raw data. (unsigned characters, Z=1 .. ns , Y=1 .. wd, X=1 .. ht)
To use the importer you just drag and drop (raw) data , then you can adjust the top slider nob to alter contrast , and left click to add an additional point that you can move to compress the range. You can view the data in different color spaces, and use the sliders to inspect the data. When you save you have a number of additional options including sub-sampling and filtering.


Once you have finished with importing your data and generated the pvl.nc you can drag and drop this into the renderer. Pressing F2 swaps you between high and low-resolution mode.
 You can edit the transfer functions to explore the volume. The 2D version depicts the gradients of the data set, and takes a bit of playing around with before you get used to it. You can left/right click to shift the points, add points, make curves, etc throughout the selected volume. Space will bring up additional color maps. You can add new transfer functions to highlight different parts of the volume. The two sliders on the side can be used to set the alpha, and 0.5 each for a gaussian influence instead.
In low-resolution mode you can alter the bounds for the volume by draging on the sides of the box, or using the arrow keys for fine change movements.
Under the preferences tab you can set the step size (ie: quality of the render), or add an axis and labels, etc. Strange things seem to happen when you set the steps too low (< 0.2).
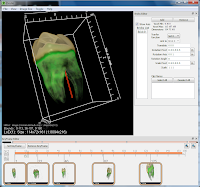
The final thing we discussed was creating keyframe animations. Selecting View, Keyframe editor displays the dialog. You can then click anywhere on the keyframe line, and set the viewport however you like (ie: rotate/zoom) and then click 'add keyframe'. Select another keyframe position, move the camera and add another keyframe, etc, etc. until you have the animation you like. You can move individual keyframes, or shift-left mouse to select an entire region and drag/reposition a whole group of keyframes.


To rotate the camera in another axis or to manually modify the camera positions, etc. use the brick-editor. Press 'a' to show the axis, and you can modify the axis of rotation (eg: alter 1,0,0 to 0,0,1, etc.).
Thats a fast-short introduction to Drishti. Take a look at the gallery for more screenshots and videos - unfortunately few of the fanciest features have videos.


No comments:
Post a Comment